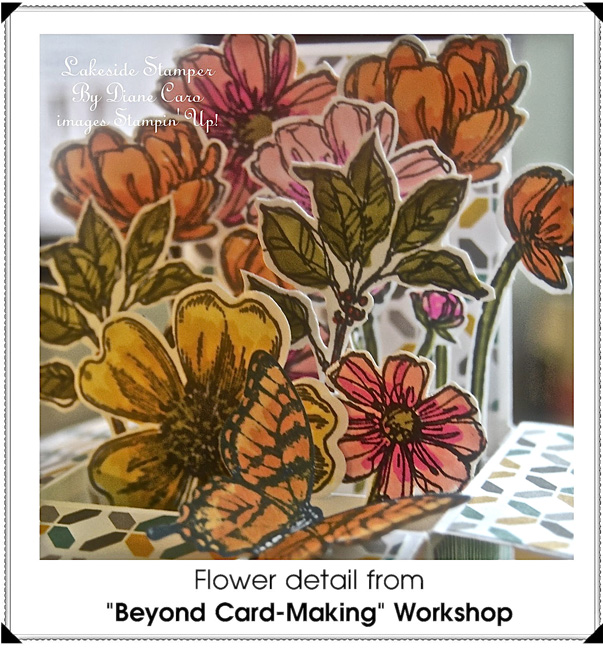
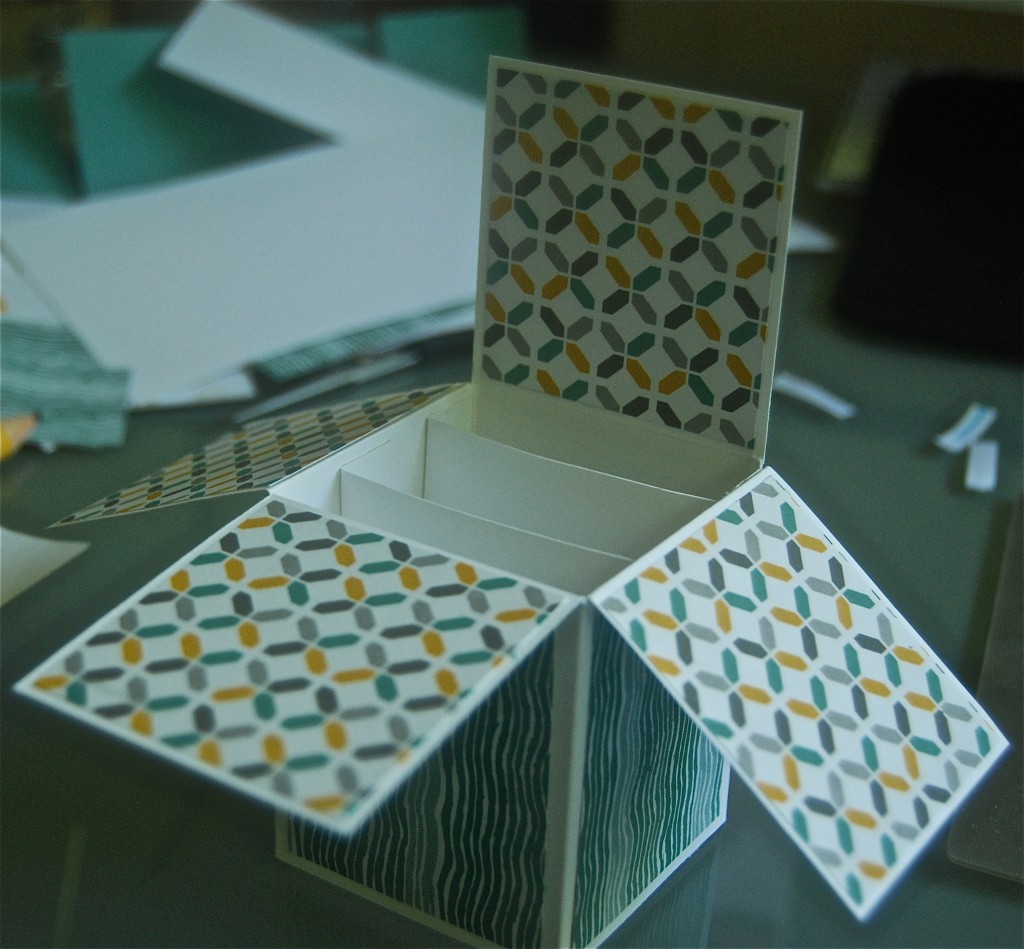
 Happy World Card-Making Day Stampers! I can finally share my Card in a Box with you. This Card in a Box may look complicated, but it’s easy to make. We made this at my, “Beyond Card-Making Workshop” and everyone loved it. I’m making a few others to share with you with holiday themes. I hope you try a few of these. and, the great part is they fold flat, so you’ll be able to stick them in an envelope and mail them! That’s if you can part with it…
Supplies you need are the following:
Stamps: Papillon Potpourri, Bloom with Hope, Flower Shop

Ink Pads: Momento Black, Lost Lagoon
Papers and Dimensions:
Whisper White
(5″ x 9″) one piece
(3-1/8″ x 1/2″) two pieces
Lost Lagoon
(2″ x 4-3/4″) one piece
Moonlight Designer Series Paper
(1-3/4″ x 4-1/2″) one piece
(1-7/8″ x 2-1/2″) three pieces
(1-7/8″ x 2″) four pieces
Accessories: Large Oval Punch, Butterfly Punch, Pansy Punch, Blendabilities in Daffodil Delight, Pumpkin Pie, Old Olive amd Melon Mambo, Bone Folder
Please note that you can use ANY stamp set for this projects as long as the stamped image sizes work. And, I know this post is a bit lenghty, but I really would like you all to be able to make this card in a box on your own. It’s not that difficult once you make one. I also repeated the dimensions twice, once in the supply list and once in the post text. Oh and some dimensions are on the diagrams I made. I hope these sre clear. And, if you follow these step by step directions you should have your card in a box done in no time at all.
So let’s begin:
1. Cut a 5″ x 9″ piece of Whisper White card stock
2. Score along the 9″ edge of the Whisper White card stock at 2-1/8″, 4-1/4″, 6-3/8″ and 8-1/2″
3. Turn the card stock and score along the 5″ edge at 2-3/4″
4. Cut top flaps with Paper Snips or Trimmer, up to the 2-3/4″ score line as shown on diagram.
5. Cut off the 1/2” tab at the end to the 2-3/4” score line.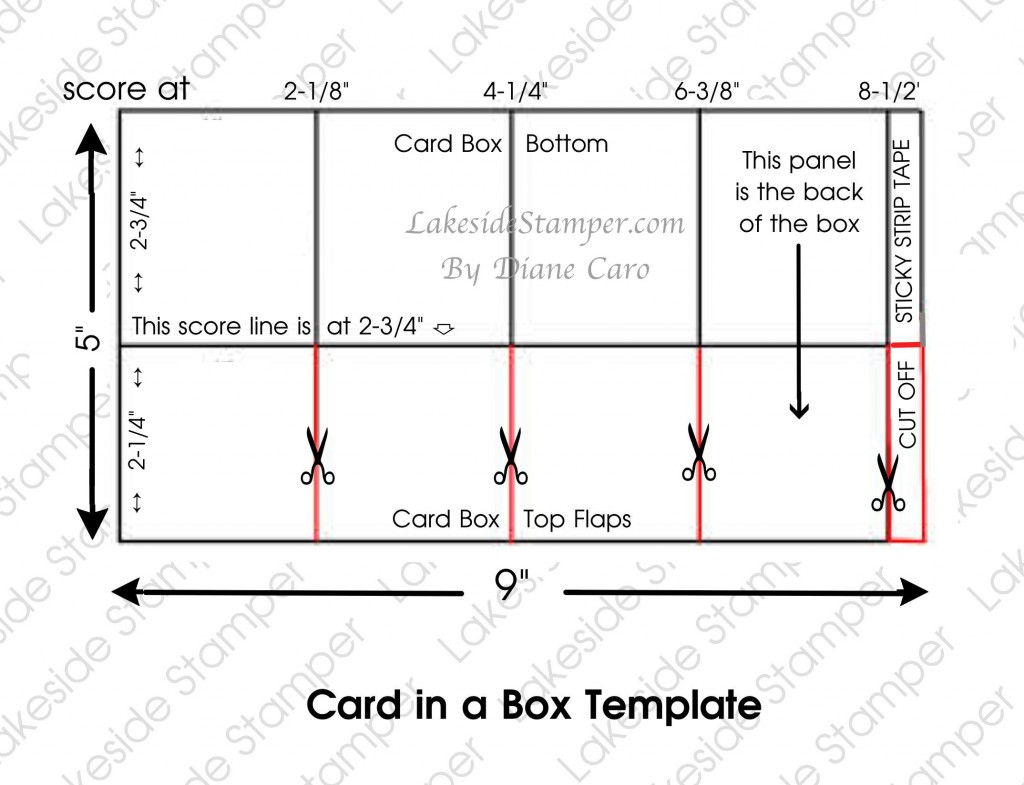

6. Don’t bend the panel marked back at the score line. This panel will get two layers and will remain rigid. The first layer is a 2″ x 4-3/4″ piece of any color card stock . For this card I used Lost Lagoon. The second layer was 1-3/4″ x 4-1/2″ piece of Moonlight Designer Series Stack Paper. Layer and adhere.

7. For the bottom panels cut three 1-7/8″” x 2-1/2″ pieces of DSP. Adhere them on the appropriate panels.
8. Cut four 1-7/8″ x 2″ pieces of Designer Series Paper for the top panels/flaps. Flip down the top 3 panels or flip the box over and and adhere the four pieces.
9. Cut two Whisper White 3-1/8 x 1″ strips. Score each end at 1/2″ These are the inside strips that will hold your stamped images.
10. Take the strips and fold one scored end back and the other scored end forward as to make a “Z”
11. Place some Sticky Tape on the outside of each tab.They’re are four in all
12. Peel off the red lining from tape and adhere the strips inside the box as shown about 3/4″ apart. These are what your stamped images will go on.
Now that the box part is completed let’s decorate it. “Here’s How” to do that:
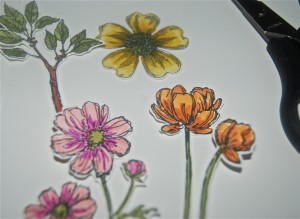
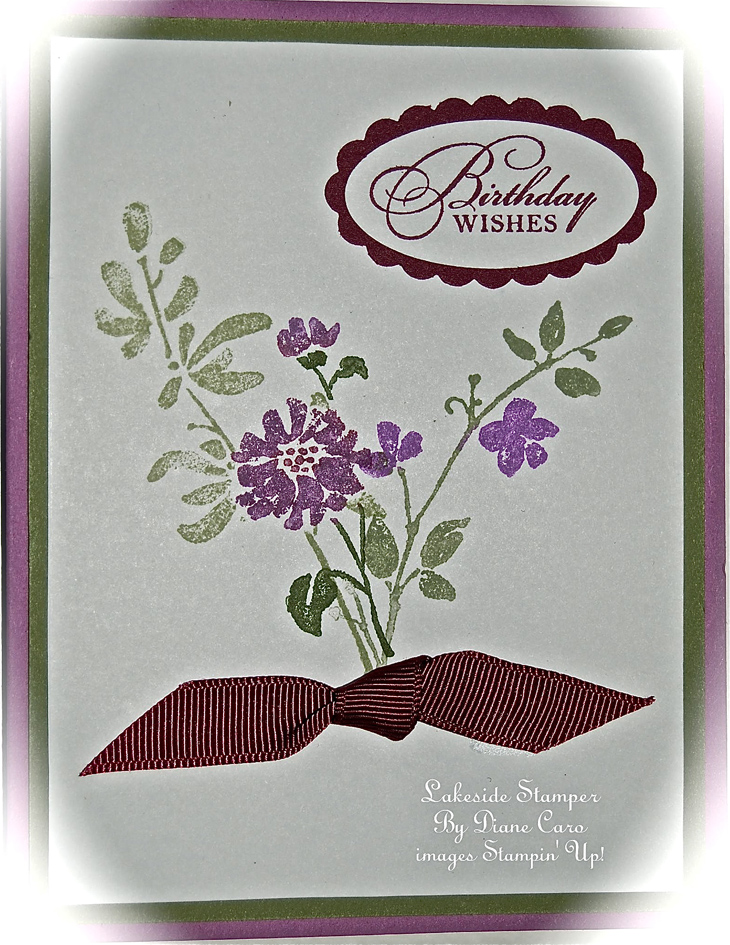
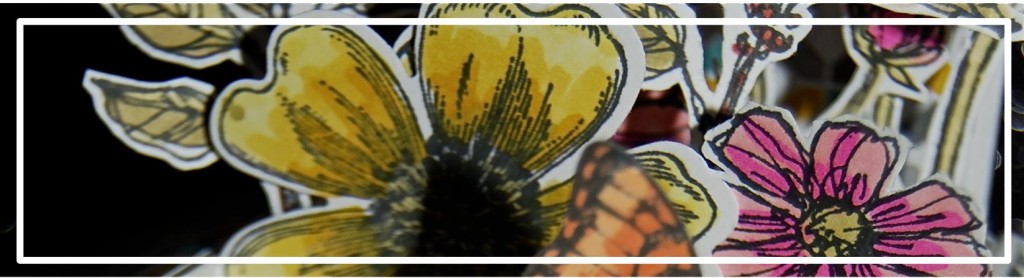
13. Stamp images you want to pop out of your Card in a Box with Momento Black Ink on to Whisper White Card Stock. The flower on this projects are from the Flower Shop and Bloom with Hope Stamp Sets. The butterfly is from The Papillon Potpourri set.
14. Once you’re happy with your stamped images color and cut them out either with Paper Snips or the Big Shot. To color-in these flowers I used Stampin’ Up! Blendabilities. Love these alcohol markers!
15. Once the images are stamped, cut and colored stick them in a pleasing manner on the two “Z” strips.
Any questions just email me .
Eat, Sleep and Craft!
Hugs,

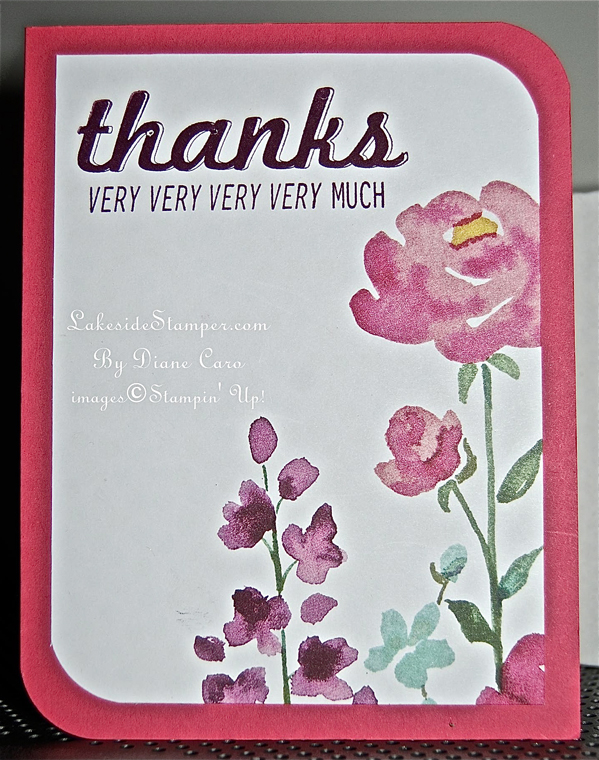
 To make the cards, you first have to cut the sheet of the Painted Blooms designer paper into 4″ x 6″ pieces. Some of these will need to be trimmed down, depending on the card you’re making. But this is where it all begins.
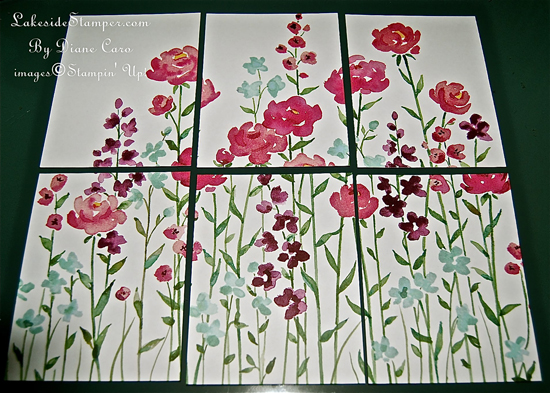
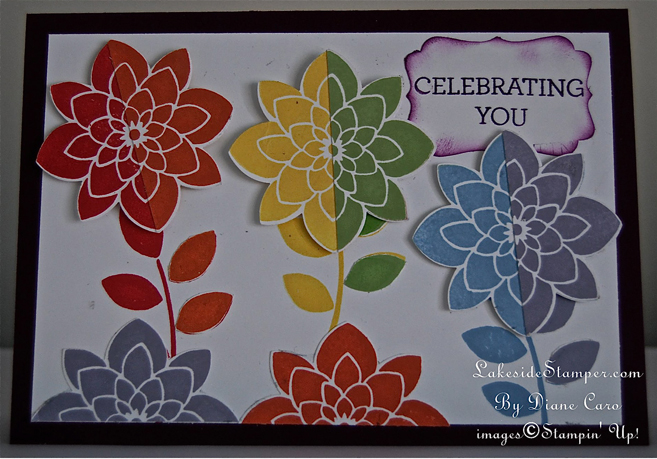
 This “Celebrate You” card uses the top middle piece of the Painted Blooms DSP.