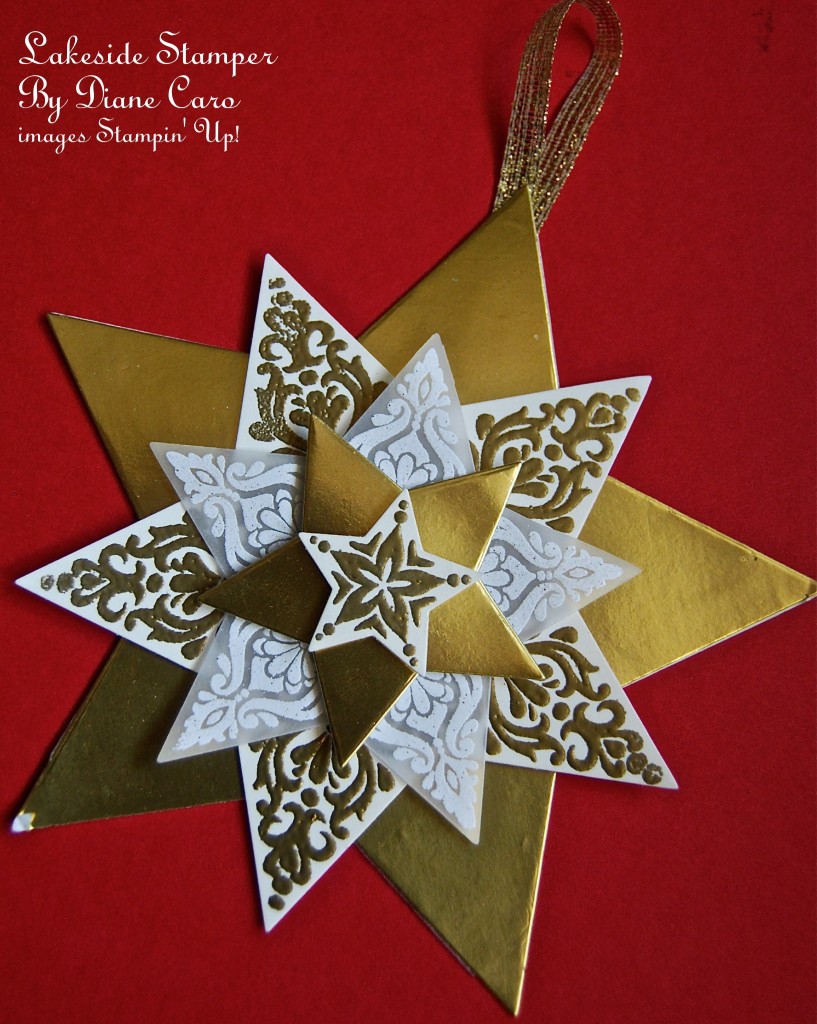
Don’t you just love stars? I know I do and what is more fitting then a star as a symbol for Christmas? These can even be used for Chanukah as decorations or gift tags. The Stampin’ Up! Bright & Beautiful Stamp Set has WONDERFULLY detailed star images. These images can be used on cards, gift tags or as in this case layered into ornaments. And, using the Star Framelits Dies Collection makes these Star Ornaments easy and fun to make.
DIRECTIONS FOR THE GOLD STAR:
1. Cut out the largest and next to smallest stars from the Star Framelits out of Brushed Gold Card Stock. Cut out 2 of the largest. One is needed for the back of the star. Place aside.
2. On a piece of Whisper White Card Stock stamp the largest and smallest stars in VersaMark, sprinkle with Gold Embossing Powder and heat emboss with a Heat Tool. Once cool match up the star die with each embossed image and run them through the BIG Shot.
3. On a piece of Vellium Card Stock stamp the middle sized star in VersaMark, sprinkle with White Embossing Powder and heat emboss using a Heat Tool.
DIRECTIONS FOR THE SILVER STAR:
1. Cut out the largest and next to smallest stars from the Star Framelits out of Brushed Silver Card Stock. In this case I used a blue and silver card stock which is non-Stampin’ Up! Sorry, but I couldn’t resist picking it up at a local craft store. Cut out 2 of the largest. One is needed for the back of the star. Place aside.
2. On a piece of Whisper White Card Stock stamp the largest and smallest stars in VersaMark, sprinkle with Silver Embossing Powder and heat emboss with a Heat Tool. Once cool match up the star die with each embossed image and run them through the BIG Shot.
3. On a piece of Vellium Card Stock stamp the middle sized star in VersaMark, sprinkle with White Embossing Powder and heat emboss using a Heat Tool.
FINISHING BOTH STAR ORNAMENTS:
To finish off these star ornaments, adhere the layers together using Dimensionals and making sure the stars stack up in the middle. I skewed each star so that the point of the top star was over the valley of the bottom star. Sandwich a piece of ribbon hanger and the extra large star cut-out and adhere them both to the back of the ornament. If you want more dazzle, place some rhinestones on the star ornaments!
Thanks for stopping by and remember to, “Make what you love, and love what you make!”
Hugs,


